
What You Should Know About Media Reflective Intensity
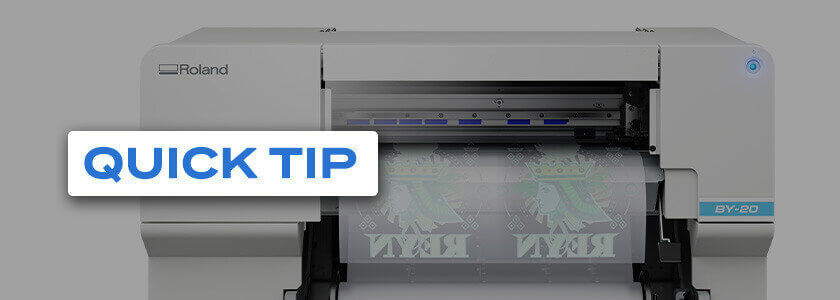
This week’s Quick Tip from Roland DGA Desktop UV Printer Manager Dave Hawkes provides some insights on “Media Reflective Intensity” and how to counter the effects it can have upon the printheads of a UV inkjet. Useful information to share with your customers!